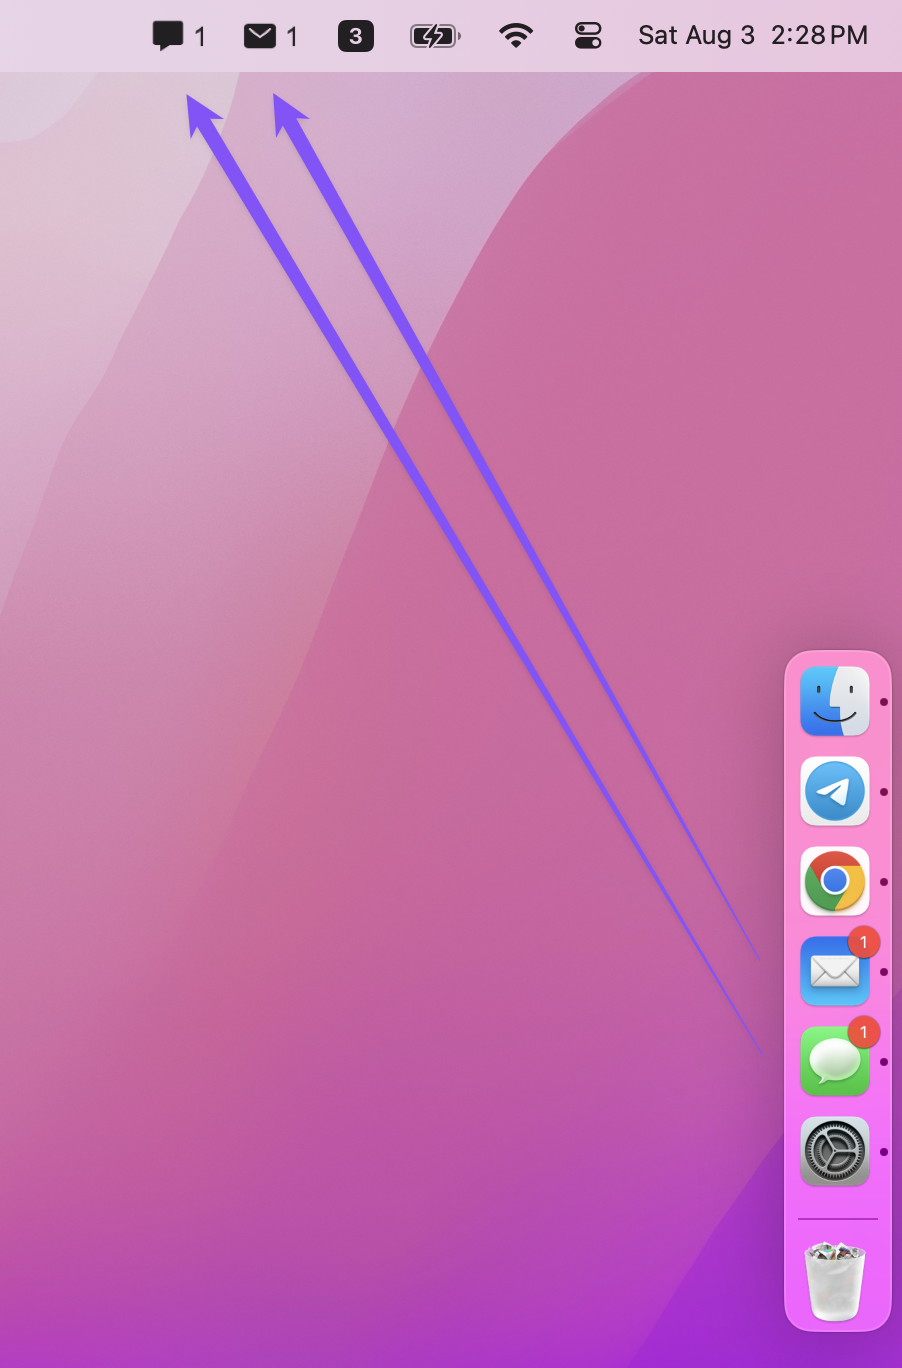
How to Add Discord to Your Mac's Menu Bar
Learn how to seamlessly integrate Discord with your Mac's interface using third-party tools, enhancing your productivity and streamlining your communication workflow.
Compatible with macOS 10.15 Catalina and all later versions.
Step 1: Download and Install
Download Badgeify from our website and install it with just a few clicks. Get ready to start your smart menu bar journey!
Step 2: Choose Your Apps
Launch Badgeify and select which apps you want to display in your menu bar. This is where you start crafting your perfect workflow.
Step 3: Customize Icons and Notifications
Make it yours! Customize icons and notification styles for each app. Choose from original icons, Badgeify recommendations, or upload your own.
Step 4: Arrange and Enjoy
Create the perfect layout by dragging and dropping to arrange your menu bar items in your preferred order. Now, enjoy your newly customized, streamlined, and productive Mac menu bar!
Discover expert tips and tricks for customizing your Mac menu bar. From basic tweaks to advanced techniques, learn how to optimize your macOS workflow and style. Explore our latest guides to transform your Mac experience.
Learn how to seamlessly integrate Discord with your Mac's interface using third-party tools, enhancing your productivity and streamlining your communication workflow.
Discover Badgeify's latest update: Pin icons to the menu bar, enjoy a cleaner interface, and experience a more native macOS color selection. Elevate your menu bar management with these new features.
Discover Badgeify's latest feature: Custom notification highlight colors. Enhance your macOS menu bar and easily distinguish notifications from different apps or groups.
Discover Badgeify's latest feature: App Groups. Organize multiple apps under a single menu bar icon for a cleaner, more efficient macOS workspace management experience.